Balancing stick pose (Tuladandasana) is a standing posture where you balance on one leg, reach both arms forward, and lower your body into a straight, level line with the back leg lifted behind you. In the 26 and 2 method it comes in the standing series. Here are the steps, what it builds, and the mistakes to fix first.
Table of Contents
Balancing Stick Pose: What It Is and Where It Sits in the 26 and 2
Balancing stick pose asks you to become a T-shape on one leg. Your standing leg stays straight and strong. Your arms reach long beside your ears, your torso tips forward, and your back leg lifts until the whole body forms one level line, parallel to the floor.
The name makes sense once you see it. The Sanskrit Tuladandasana is usually read as the balance or scale (tula) and the staff or stick (danda). Picture a seesaw: the lifted leg goes back as the chest goes forward, and the standing hip is the pivot.
A 26 and 2 class is 26 postures and 2 breathing exercises, in the same order, for 90 minutes at about 40°C. Balancing stick pose belongs to the standing series. It follows Standing Bow Pulling and comes before Standing Separate Leg Stretching, so your legs are already warm and working when it arrives. You can see the full order in our guide to the 26 and 2 yoga sequence.
Like every posture in the method, it is done twice. The dialogue talks you in, you hold, you come out, and then you do it again. That repeat is the point. The second set is where you notice what you changed.
Why this posture feels harder than it looks
From the back of the room, balancing stick pose looks calm. Inside, it is busy. The standing ankle makes small corrections, the hips fight to stay square, and the hamstrings of both legs work in different ways. The standing leg is strong, and the lifted leg is long.
The Cleveland Clinic notes that standing on one leg can be more difficult than it sounds. That's a fair summary of this posture. Most students find the first few classes wobbly, so don't worry if yours are too.
How to Do Balancing Stick Pose: 7 Steps
These steps describe the shape in plain words. In class, the teacher's dialogue gives the exact timing and cues, so treat this as a map and follow the script when you are in the room. If you are new, stand near a wall for the first few tries.
- Stand tall on one leg. Shift your weight onto the standing foot. Spread the sole across the ball and heel, and keep your hips level.
- Pick a fixed point. Look at one spot on the wall or the mirror at eye level. Your eyes give your balance system a steady reference.
- Bring your hands together and reach up. Lift your arms overhead beside your ears, palms together, so your arms and ears stay in one line.
- Tip forward as one piece. Hinge from the hip, not the waist. Lean your chest forward while the back leg starts to lift behind you.
- Lift the back leg and straighten both legs. Point the lifted foot and push it back, not up. Keep the standing knee as straight as your body allows.
- Hold the line. Aim for your arms, torso and lifted leg to sit roughly parallel to the floor. Breathe steadily and keep your gaze on the fixed point.
- Come up slowly. Lower the leg, lift the torso, and return to standing before you repeat on the other side and then do the second set.
When the full line is out of reach
Not everyone reaches a perfectly level line, and that's fine. A student with tight hamstrings may stop with the torso higher and the lifted leg lower. A softer standing knee is a sensible choice if the straight version pulls at the back of the knee. Your teacher can adjust it for you.
Balancing Stick Pose Benefits: What It Trains
Balancing stick pose is a balance posture first. It trains the muscles and joints that keep you steady on one leg, and it asks your back body to lengthen at the same time. The benefits below are what the posture asks of you, not guaranteed results. It follows Standing Bow in the class, so Standing Bow Pulling Pose steps and fixes is a natural read before it.
- Single-leg balance. The ankle, knee and hip of the standing leg work together to keep you upright. Regular practice teaches those joints to react faster.
- Leg and hip strength. The standing leg holds your body weight while the lifted leg works against gravity.
- Hamstring length. Both hamstrings stretch in different ways as you hinge forward and push the back leg long.
- Posture and focus. Holding a fixed gaze while you breathe steadily trains attention, which is why many students feel calmer when it ends.
Balance beyond the mat
Balance matters beyond the mat. The Cleveland Clinic says exercises that improve balance can help reduce your chances of falling. It also notes that staying active helps keep you steady on your feet. The article is general advice on balance exercises, not a claim about yoga, but the skill it describes is the same one this posture practises.
A related Cleveland Clinic piece describes a 10-second balance test, which asks you to stand on one foot for at least 10 seconds without moving the supporting foot. The page reports a study linking failure on that test with higher risk of death over ten years. It states that this is a link, not a cause, and calls the test "not a complete balance evaluation on its own."
So treat it as a reminder that one-leg balance is worth training, not as a pass or fail grade.
Strength, flexibility and the full class
On the strength side, a 2013 study of Bikram yoga (Tracy and Hart) reported about a 20% increase in posterior chain strength, alongside changes in flexibility and body composition. That study looked at the full class, not this posture alone, so it's a hint about what regular practice can build.
A 2014 University of Wisconsin study (Porcari et al.) measured how hard the heart works across a 90-minute class, which is worth remembering when you meet this posture mid-class.
This is general information, not medical advice. If you have a knee, ankle, hip or back injury, or you feel dizzy when you stand on one leg, speak to a healthcare professional before you practise, and tell your teacher before class.
Balancing stick pose at a glance
Common Mistakes in Balancing Stick Pose and How to Fix Them
For example, most mistakes in balancing stick pose come from one idea: students try to look like the picture instead of building the shape from the standing foot up. The table below lists the five errors we see most often in class, what each one looks like, and the first fix to try.
| Common mistake | What it looks like | First fix to try |
|---|---|---|
| Rounding the back | The chest drops and the shoulders hunch as the leg lifts | Hinge from the hip and keep the arms by the ears |
| Lifting the leg too high | The foot goes up while the torso stays upright | Push the foot back, and let the chest come forward to match |
| Hips opening to the side | The lifted leg turns out and the hip rolls open | Point the toes down and keep both hip bones facing the floor |
| Locking and collapsing the standing knee | The standing leg shakes, or the knee sinks inward | Press through the whole foot and keep a soft, strong knee |
| Staring at the floor or the person nearby | The gaze moves, so the whole body wobbles with it | Choose one fixed point at eye level and stay on it |
Why you wobble, and what actually helps
Wobbling isn't failure. It's information. Because the standing foot is trying to find the floor, the tiny shakes are its corrections. If you wobble most when you lift the leg, check that your weight is spread across the whole foot and not dumped into the toes.
Three habits settle most wobbles:
- Look at one point. Moving eyes make a moving body, so choose a fixed spot and keep it.
- Breathe out slowly. A long exhale lowers the effort in the standing leg and helps the shaking ease.
- Shorten the lever. If you cannot hold the full line, keep the back leg lower or the chest higher. Build the shape over weeks.
If you are an athlete or you have tight hamstrings, you may find this posture is a good test of how well your legs share the work. Our article on proprioception exercises in the 26 and 2 postures explains how balance is trained across the class. Men who feel the stretch more in the back of the leg may also like the 26 and 2 postures tight men fear.
Balancing Stick Pose vs Warrior 3: What Is Different?
Many students ask whether balancing stick pose is the same as Warrior III. The shapes are close, because both have one leg back, a long spine and a level torso. The difference is how each is taught.
Warrior III appears in many vinyasa and hatha classes. Teachers cue the arms in different places, such as forward, by the sides or in prayer, and the flow around the pose changes from class to class. Balancing stick pose in the 26 and 2 is taught from a fixed script, in a fixed place in the sequence, with the same cues every time.
That fixed script matters for learning. When you hear the same words in the same order, you notice your own changes, not the teacher's changes. If you can do Warrior III steadily, you already have a head start, but expect the 26 and 2 version to feel more precise.
How Mr. Ian Terry Teaches Balancing Stick Pose
Mr. Ian Terry, E-RYT 500 with more than 12,000 teaching hours, leads the teacher training at YogaFX in Bali. He trained for five years, from 2014 to 2019, with the founder of the Bikram Hot 26&2 method. The balance postures are among the first places his trainees learn that a posture can be taught with words alone.
In training, a posture like this is practised by feel and by ear. Trainees learn to name where the weight sits in the foot and where the hips drift. In the posture clinic, a trainee spots a misaligned student and corrects the posture with words and hands. That skill is hard to learn from a video, because a video cannot tell you which cue the student needed.
If you want to teach someone else to balance, this is the kind of detail that matters. Our guide on how to choose a yoga teacher training lists the questions to ask any school, and the 26 and 2 teacher training page shows how the course is built.
What Trainees Say About Learning the Postures in Bali
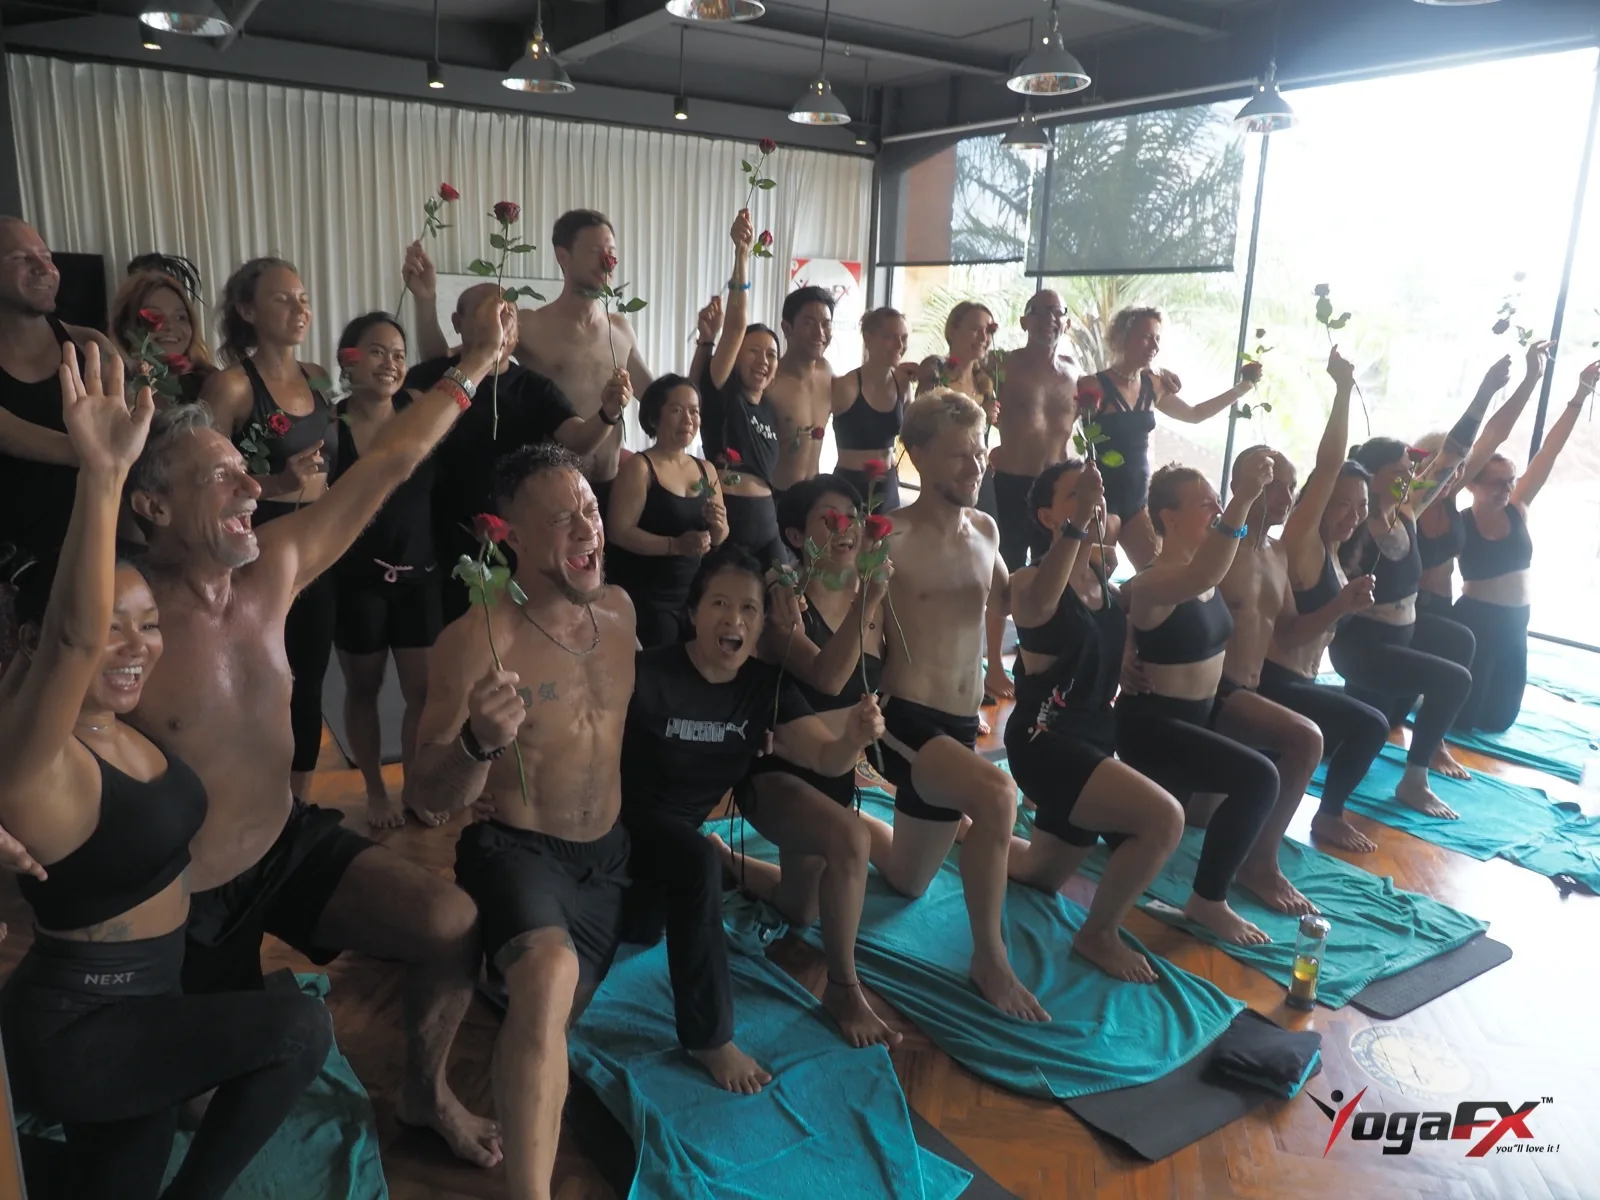
Students rarely describe a single posture when they look back. They describe the group, the effort and the six days they stuck with it. Here are two reviews from YogaFX trainees, with first names only.
I'm quite proud of the fact that I stuck it for the six days, didn't give up.
Karen, YouTube review, 2025 (transcript, lightly edited)
I did it, we did it, everyone did it, so I'm proud of myself.
Diah, YouTube review, 2025 (transcript, lightly edited)
Karen's full video review is below. She describes how hard the six days felt and what the group taught her about care for each other.
A Four-Week Plan to Build Balancing Stick Pose
You don't need a new routine. Add a few minutes of balance work to your regular classes, and build the shape in stages. Each step should feel challenging but never painful. If a joint hurts, stop and skip that step.
- Week one: stand and breathe. Near a wall, stand on one leg for a few breaths on each side. Keep your gaze on one fixed point.
- Week two: add the reach. Lift your arms overhead, hands together, and keep the standing leg steady for a few breaths.
- Week three: hinge a little. Tip forward from the hip and lift the back leg only part of the way. Stop where the chest stays long.
- Week four: bring it to class. In class, follow the dialogue for the full posture and notice what changes between the first and second set.
Expect the first two weeks to feel clumsy. That's normal. Because your nervous system is learning a new map of the foot and ankle, clumsy practice is how the map gets drawn. The Cleveland Clinic suggests using a wall or sturdy support if you are worried about falling, and that advice applies here too.
Keep the practice modest. Two or three short sessions a week are plenty for most students, and rest days matter as much as the work. If you notice pain, swelling or dizziness, stop and speak to a healthcare professional.
Where to Go Next
Balancing stick pose is one posture in a longer chain. Once the standing series feels familiar, try the rest of the sequence in order, and notice how the heat changes what each posture asks of your legs.
If you'd like to learn to teach these postures with your own voice, message Mr. Ian on WhatsApp and he will tell you how the training runs and what the next batch looks like.
FAQ
What are the benefits of balancing stick pose?
Balancing stick pose trains single-leg balance, leg and hip strength, and hamstring length, and it asks for steady focus. These are what the posture asks of your body, not guaranteed results. The Cleveland Clinic says balance exercises can help reduce your chances of falling, so practising one-leg balance is worth the effort.
What is the Sanskrit name for balancing stick pose?
The Sanskrit name is Tuladandasana. It is usually read as balance or scale (tula) plus staff or stick (danda). The English name describes the shape: your arms, torso and lifted leg form one level line while you balance on a single standing leg, a bit like a balance scale.
Is balancing stick pose the same as Warrior 3?
The shapes are similar, but they are taught differently. Warrior III appears in many classes with the arms in different positions and a changing flow around it. Balancing stick pose in the 26 and 2 is taught from a fixed script, in a fixed place in the sequence, with the same cues every class.
Why do I wobble in balancing stick pose?
Wobbling is normal and shows your standing foot making corrections. Spread your weight across the whole foot, look at one fixed point, and breathe out slowly. If it still shakes, keep the back leg lower or the chest higher. A shorter lever is easier to hold, and you can build the full line over weeks.
How can I make balancing stick pose easier?
Keep a soft bend in the standing knee, lift the back leg only as far as your chest can stay long, and stand near a wall for support. Tight hamstrings often shorten the line, which is fine. Tell your teacher about any injury before class so they can suggest a safe version.
Still have questions? Message Mr. Ian and the YogaFX team on WhatsApp and we will answer them personally.