Cobra pose (Bhujangasana) is a floor backbend. You lie on your belly, lift your chest with your back muscles, and keep your hips and legs on the floor. This guide covers the 26 and 2 cues, hand and hip placement, common errors and a safe depth for beginners.
Table of Contents
Cobra Pose in the 26 and 2: Where It Sits and What It Is For
A 26 and 2 class is 26 postures and 2 breathing exercises, in the same order, for 90 minutes at about 40°C. Cobra pose opens the floor backbends. It comes after Sit-Up and before Locust, so your spine has just been folded forward and now has to reverse. Our guide to the 26 and 2 yoga sequence shows the whole order.
Like every posture in the method, cobra pose is done in two sets. The teacher talks you in, you hold, you come out and rest, and then you do it again. That repeat matters. The first set shows you where you collapse, and the second set lets you fix it. That is how we teach it at YogaFX in Bali.
Cobra pose looks gentle from the doorway. In a 40°C room it is not. Your back extensors, glutes and shoulders all have to work, and your breath has to stay slow while your chest opens. As a result, many students find it harder than they expected.
Why the name matters
Bhujangasana comes from bhujanga, the Sanskrit word for snake or serpent. The shape is a snake raising its head while the body stays low. That image is a useful cue in itself. The head and chest rise, and the belly, hips and legs stay grounded.
In English you will hear it called cobra pose, and some classes shorten it to cobra. In a 26 and 2 class the teacher uses the English name, and the dialogue does the rest.
Cobra Pose Cue by Cue: 7 Steps From Belly Down to Release
The exact dialogue is taught live, and we do not reproduce the script here. What follows is a plain-language map of the cues in the order you hear them, so you know what each one is asking for. In the room, always follow your teacher and the full dialogue.
- Lie face down with the legs together. Stretch the legs long behind you and press the tops of the feet into the floor. That gives the lower body a base to push from.
- Place the hands under the shoulders. The palms go flat beside the ribs, fingers pointing forward, with the elbows tucked close to the body.
- Start the lift with the back. Your back muscles raise the chest first. The hands only support, so you do not shove yourself up with the arms.
- Keep the hips heavy. The front of the hips stays on the floor the whole time. If the hips lift, you have gone too high for your back today.
- Draw the shoulders down and back. Let the shoulder blades slide toward the hips, away from the ears, and open the chest forward.
- Look up without cranking the neck. The head follows the spine. Lift the gaze a little, so the neck stays long and the back of the head does not crush down.
- Lower slowly and rest. Come down in one smooth line, turn the head to one side, and breathe before the second set.
Notice how each cue protects the next one. The legs make the base, the base lets the back lift, and the hips on the floor keep the lift in the upper spine instead of the lower back. Take one cue out and the shape changes.
What each cue is for
| Cue theme | What the cue is for | What it feels like when it works | What goes wrong |
|---|---|---|---|
| Legs together and long | Builds a firm base and keeps the pelvis square | The thighs and glutes feel switched on | Legs falling apart and the feet rolling out |
| Hands under the shoulders | Gives support without forcing the lift | The arms feel light, like a rail, not a lever | Hands too far forward, so the arms straighten early |
| Back muscles lift first | Trains the spine to extend with its own strength | A warm, working feeling along the mid back | Pushing up with the arms and hanging in the lower back |
| Hips stay down | Spreads the bend across the whole spine | A long stretch across the front of the hips | Hips lifting and the lower back folding sharply |
| Shoulders away from the ears | Opens the chest and frees the neck | Space across the collarbones | Shoulders shrugged up around the neck |
| Gentle gaze up | Finishes the curve without strain | The neck feels long and quiet | Head thrown back and the neck compressed |
Hand and hip placement in plain words
Two placements decide most of the shape. The first is the hands. Set them under the shoulders, not beside the face and not far forward. If the hands sit too far ahead, the elbows straighten early and the lower back takes the load.
The second is the hips. Press the front of the pelvis into the floor and keep it there. A good test is simple: if you can feel the hip bones lifting away from the floor, lower the chest one inch and start again. Depth does not matter here. Control does.
Common Cobra Pose Mistakes and How to Fix Them
Most cobra pose mistakes come from chasing height. Students see the head rise and think higher is better. Here are the six we see most often in class, with the first fix to try.
- Pushing up with straight arms. Bend the elbows and let the back muscles do the first part of the lift.
- Hips lifting off the floor. Press the pelvis down and lower the chest until the hips stay heavy.
- Shoulders shrugged to the ears. Slide the shoulder blades down the back and lengthen the neck.
- Neck thrown back. Keep the chin level with the chest and look only a little way up.
- Holding the breath. Breathe in as you lift and breathe slowly while you hold, because a held breath tightens the whole back.
- Legs apart and feet rolled out. Squeeze the legs together and press the tops of the feet down.
For example, a student who always feels cobra pose in the lower back is usually pushing with the arms and lifting the hips. A lower lift with the elbows bent fixes both at once. If you feel sharp pain, pinching or tingling, come down, rest, and tell your teacher.
How High Should a Beginner Go? A Safe Depth Ladder
There is no medal for the highest cobra pose. A safe depth is the height where your hips stay on the floor, your breath stays slow, and you feel work in the muscles of your back, not a pinch. Use this ladder and move up only when the step below feels steady.
| Level | What it looks like | Who it suits | Check before you go higher |
|---|---|---|---|
| Low cobra | Chest barely lifts, elbows bent, hands light | First classes, tight backs, stiff shoulders | Hips heavy and breath slow |
| Half cobra | Chest lifts to the point where the elbows stay bent | Most beginners in their first month | No pinch in the lower back and the neck stays long |
| Working cobra | Chest lifts higher, with the arms bent a little | Students who have practised for a few weeks | The back muscles, not the arms, still lead |
| Full cobra | Arms straighter and the chest lifts high | Students with a flexible spine and a calm body | Hips still on the floor and no pain at all |
Moving up the ladder
Start low and stay there for a while. Many students find that low cobra pose still gives a clear stretch across the front of the hips. Next week you may find an inch more. If a week feels worse than the last, go lower without any guilt.
Cobra pose at a glance
Cobra Pose vs Upward Dog and Sphinx: What Is Different
Search results often mix these shapes up, so it helps to separate them. All three are backbends, but they ask for different things. In flow classes cobra pose and upward dog often appear in the same sequence. In the 26 and 2, cobra pose has its own place and its own rules.
| Pose | Hips and legs | Arms | Where the effort goes |
|---|---|---|---|
| Cobra pose | Hips and legs stay on the floor | Elbows bent or slightly bent, hands light | Back extensors, glutes and shoulders |
| Upward dog | Thighs and hips lift off the floor | Arms straight and strong | Arms, shoulders and chest, with the back |
| Sphinx | Hips and legs stay on the floor | Forearms rest on the floor | A gentle load on the back, the least of the three |
If you come from a flow class
If you come from a flow class, expect cobra pose to feel slower and more precise. You will not swing through it on the way to another pose. Instead you hold the shape, breathe, and then rest on the floor before the second set.
Many runners and cyclists like the way cobra pose opens the front of the hips after a long time folded forward. Our guide on hot yoga for runners explains where it fits next to Camel and the rest of the floor series.
What the Science Says About Stretching and Back Pain
Cobra pose is a stretch for the front of the body and a strengthening move for the back. We do not claim it treats any condition. We can say what trusted health sources say about stretching and back care, because it shapes how we teach it.
Mayo Clinic advises that you may hurt yourself if you stretch cold muscles, and it says to stretch in a smooth movement without bouncing. It also says to expect tension, not pain: "If it hurts, you've pushed too far." That fits cobra pose well, because it comes deep in a class when the body is warm.
Harvard Health notes that the more often you stretch your muscles, the longer and more flexible they become. So regular practice can build the range your back and hips need. The hot room can make the stretch feel easier, but heat can also hide how far you are pushing, so let tension, not depth, be your guide.
On back pain, the NHS says to stay active and try exercises and stretches, and that activities such as walking, swimming, yoga and pilates may help ease back pain. It also says to stop if your pain gets worse and see a GP.
When to stop and get medical advice
The NHS lists warning signs that need urgent care: pain, tingling, weakness or numbness in both legs, a loss of feeling around the genitals or anus, and changes in your bladder or bowels. If any of these appear, get medical help straight away. Do not wait for the next class.
This is general information, not medical advice. If you have a back, neck or shoulder problem, a recent surgery or injury, you are pregnant, or you feel dizzy in the heat, speak to a healthcare professional before you practise, and tell your teacher before class.
How Mr. Ian Terry Teaches Cobra Pose to Trainees
Mr. Ian Terry, E-RYT 500 with more than 12,000 teaching hours, leads the teacher training at YogaFX in Bali. He trained for five years, from 2014 to 2019, with the founder of the Bikram Hot 26&2 method. For a floor posture like cobra pose, that background shows up in how trainees learn to speak.
Trainees learn to cue the shape with words alone. They practise naming where the hands sit, where the hips should stay, and when a student has lifted too high. In the posture clinic, a trainee spots a student whose hips have left the floor and corrects it with a calm voice and a clear cue. A video cannot teach that, because a video cannot tell which cue the student needed.
That is why our trainees spend so long on the floor series. Learning to teach a backbend safely means learning when to say less. If you want to see how the course is built, read our guide on how to choose a yoga teacher training or visit the 26 and 2 teacher training page.
What Students Say About Learning the Postures in Bali
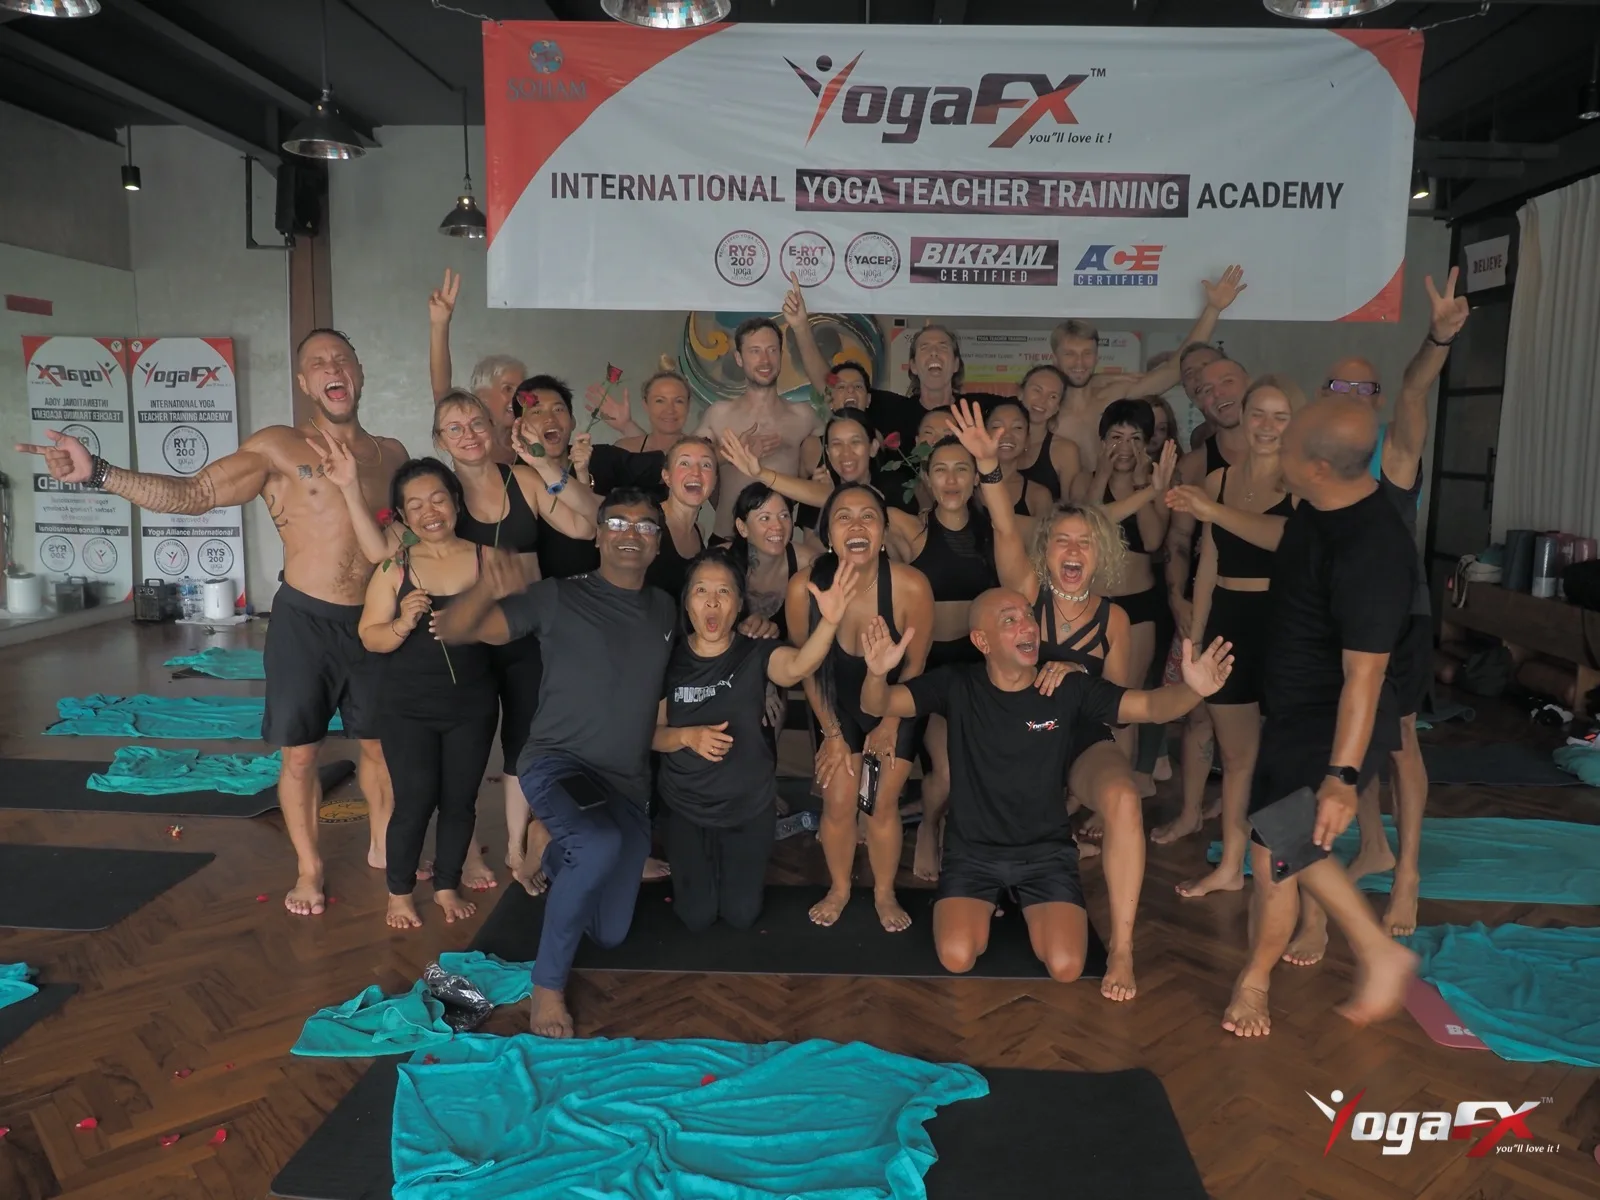
Students rarely describe one posture when they look back. They describe the effort, the group and the teacher. Here are three reviews from YogaFX students, with first names only.
I really appreciate a teacher who constantly takes the time to help correct poses for all his beginner students.
Florian, Google review, 2020
I could not stop smiling in class today because of how amazing everyone was getting up on stage
Bronte, YouTube review, 2025 (transcript, lightly edited)
It's a true joy but it's been humbling experience. Absolutely loving him for pushing me.
Peter, YouTube review, 2026 (transcript, lightly edited)
Bronte's full video review is below. She talks about the personal challenge of the training and how it changed her mind about teaching.
How to Prepare for Cobra Pose Before Your Next Class
You do not need a special routine. A few habits make cobra pose steadier when it arrives in class. Keep the preparation modest, and stop if anything hurts.
- Hydrate before class. Drink water earlier in the day, so you are not catching up in the room.
- Practise the lift lying down. At home, lie on your belly with the hands under the shoulders and lift only the head and upper chest for a few breaths.
- Listen for the order. In class, notice which cue comes first and which comes last. The order is the map.
- Compare your two sets. After the first set, ask what you could soften or lengthen. The second set is your answer.
Expect the first weeks to feel clumsy. That is normal, because your back and hips are learning a new habit. Two or three classes a week are plenty for most students, and rest days matter as much as the work.
Where to Go Next
Cobra pose is one posture in a longer chain. Once it feels familiar, notice how it prepares you for Locust and the rest of the backbends. If balance is your weak spot, try triangle pose from the standing series next.
If you would like to learn to teach these postures in your own voice, message Mr. Ian on WhatsApp and he will explain how the training runs and what the next batch looks like.
FAQ
What is cobra pose good for?
Cobra pose stretches the front of the hips and chest while it works the back muscles, glutes and shoulders. In the 26 and 2 it is the first floor backbend. It is not a treatment for any condition, so follow tension, not pain, and tell your teacher about any injury before class.
Is cobra pose the same as upward dog?
No. In cobra pose the hips and legs stay on the floor and the elbows stay bent or soft, so the back muscles lead. In upward dog the thighs and hips lift off the floor and the arms are straight. Cobra pose is also slower and more precise in the 26 and 2.
Why does cobra pose hurt my lower back?
Lower back pain in cobra pose usually comes from pushing up with straight arms or lifting the hips off the floor. Lower the chest, bend the elbows and keep the hips heavy. If the pain is sharp, tingles or does not settle, stop and speak to a healthcare professional.
How high should a beginner lift in cobra pose?
Lift only as high as your hips stay on the floor and your breath stays slow. For most beginners that means low or half cobra, with the elbows bent. You should feel work in the back muscles, not a pinch. Go higher only when the lower step feels steady.
What is the Sanskrit name for cobra pose?
The Sanskrit name is Bhujangasana, from bhujanga, meaning snake or serpent. The shape is a snake raising its head while the body stays low. In English it is called cobra pose, and teachers in a 26 and 2 class use that English name when they cue the posture.
Still have questions? Message Mr. Ian and the YogaFX team on WhatsApp and we will answer them personally.