Tree pose is the eleventh item in the 26 and 2 yoga sequence. You stand on one straight leg, place the other foot high on the thigh, press your hands together and fix your eyes on one spot. The pose tests balance, but it tests concentration just as much. This guide covers the cues, the wobble fixes and what the hot room changes.
Table of Contents
Tree Pose in the 26 and 2: Where It Sits and Why It Matters
A 26 and 2 class is 26 postures and 2 breathing exercises, done in the same order for 90 minutes in a room of about 40°C. Tree pose comes near the end of the standing series. It follows Standing Separate Leg Head to Knee and comes just before Toe Stand. Our guide to the 26 and 2 yoga sequence shows the whole order and the reasons for it.
In the classic numbered list, Tree is number 11 and is listed under the Sanskrit name Tadasana. Most other yoga styles use Vrksasana for the one-leg tree shape, so you may see both names. The shape is the same idea in every style: one strong leg, one open hip and a still gaze.
The method does Tree for one set on each side. That is fewer sets than most standing postures get, which tells you something. The posture is not there to burn you out. It is there to slow the standing series down, after the harder balances, and ask you to stay calm on one leg.
Why tree pose feels harder than it looks
From the back of the room, tree pose looks quiet. Inside, your standing foot is making hundreds of tiny corrections. Your ankle, calf, thigh and hip all take turns holding you up. Meanwhile your mind wants to talk.
That’s why many students find tree pose more tiring in the head than in the legs. It follows the heavy single-leg work in the middle of the class, which we describe in our balancing stick pose guide.
If you wonder how demanding the whole class feels, it’s worth knowing that tree pose is one of the quieter parts.
Tree Pose Cue by Cue: 7 Steps From Standing to Release
The exact dialogue is taught live, and we do not reproduce the script here. What follows is a plain-language map of the cues you hear, so you know what each one asks for. In the room, always follow your teacher and the full dialogue.
- Stand tall and find a spot. Feet together, weight even, and your eyes on one fixed point at eye level, often your own eyes in the mirror.
- Choose your standing leg. Shift your weight onto it and straighten it. The knee stays strong, not slammed back.
- Lift the other foot with your hands. Use both hands to bring the foot up. Do not hop or drag it.
- Place the foot high on the thigh. The sole rests against the inner thigh of the standing leg, as high as your hip allows. The knee opens out to the side.
- Square the hips. Both hip bones face forward, so the lifted knee opens without the pelvis twisting.
- Bring the hands together. Palms meet in front of the chest in prayer position, and the spine grows tall.
- Hold, then release with control. Keep breathing and keep the gaze on your spot. Lower the foot slowly, reset, and repeat on the other side.
For example, notice how each step steadies the next. The fixed gaze calms the body before the leg lifts. The strong standing leg lets the hip open. Skip one cue and the whole shape wobbles.
| Cue theme | What the cue is for | What it feels like when it works | What goes wrong |
|---|---|---|---|
| Eyes on one spot | Gives the brain a steady reference point | The wobble gets smaller and the mind goes quiet | Eyes flicking around the room or down at the foot |
| Strong standing leg | Builds a stable base under the pelvis | Thigh and calf feel firm, the hip feels level | Knee slammed back, or knee soft and sinking |
| Foot lifted by hand | Protects the knee and the standing leg | The foot arrives without a lurch | Hopping, dragging or flinging the foot up |
| Foot high on the thigh | Opens the hip of the lifted leg | A steady stretch in the inner thigh and outer hip | Foot pressed on the side of the knee |
| Hips square | Keeps the pelvis level so the hip can open | The lifted knee drifts back without twisting the body | Standing hip pushed out, pelvis tilted |
| Hands in prayer position | Centres the weight over the standing foot | Chest lifts and the spine feels long | Shoulders shrugged up or arms clamped tight |
| Slow release | Keeps the standing leg safe as you finish | The foot lowers in one piece | Dropping the foot and losing the next posture |
When the full shape is out of reach
Not every hip opens on day one, and that’s fine. If your foot cannot reach the thigh, rest it lower on the calf or ankle. Keep it off the side of the knee. If your standing leg shakes, shorten the hold and breathe. Tell your teacher before class about any knee, hip or ankle injury, and they can adjust the shape.
Tree Pose Eyes and Focus: Why the Gaze Matters
The 26 and 2 teaches a fixed gaze in most balancing postures. In tree pose it matters most, because there is no kick, no stretch and no sprint to distract you. There is only you, the floor and the spot you picked.
A fixed point does two jobs. It gives your body a landmark, so you notice small leans sooner. It also gives your mind a task, so it has less room to wander, and that’s the real value. Think of it as an anchor for attention, not a magic fix for wobbling.
What the research says about eyes and sway
The science here is more modest than yoga lore suggests. A 2019 study in Frontiers in Physiology asked 20 young men to stand quietly with their eyes on a fixed target, with their eyes closed, and while making quick eye movements between two targets. The authors (Barbieri et al.) found that quick eye movements reduced sway compared with the fixed-gaze and closed-eye conditions.
So a frozen stare is not the only way to steady the body. What the 26 and 2 gives you is a repeatable habit. You choose one spot, return to it each time your mind drifts, and use it to train attention. That is a concentration skill first and a balance trick second.
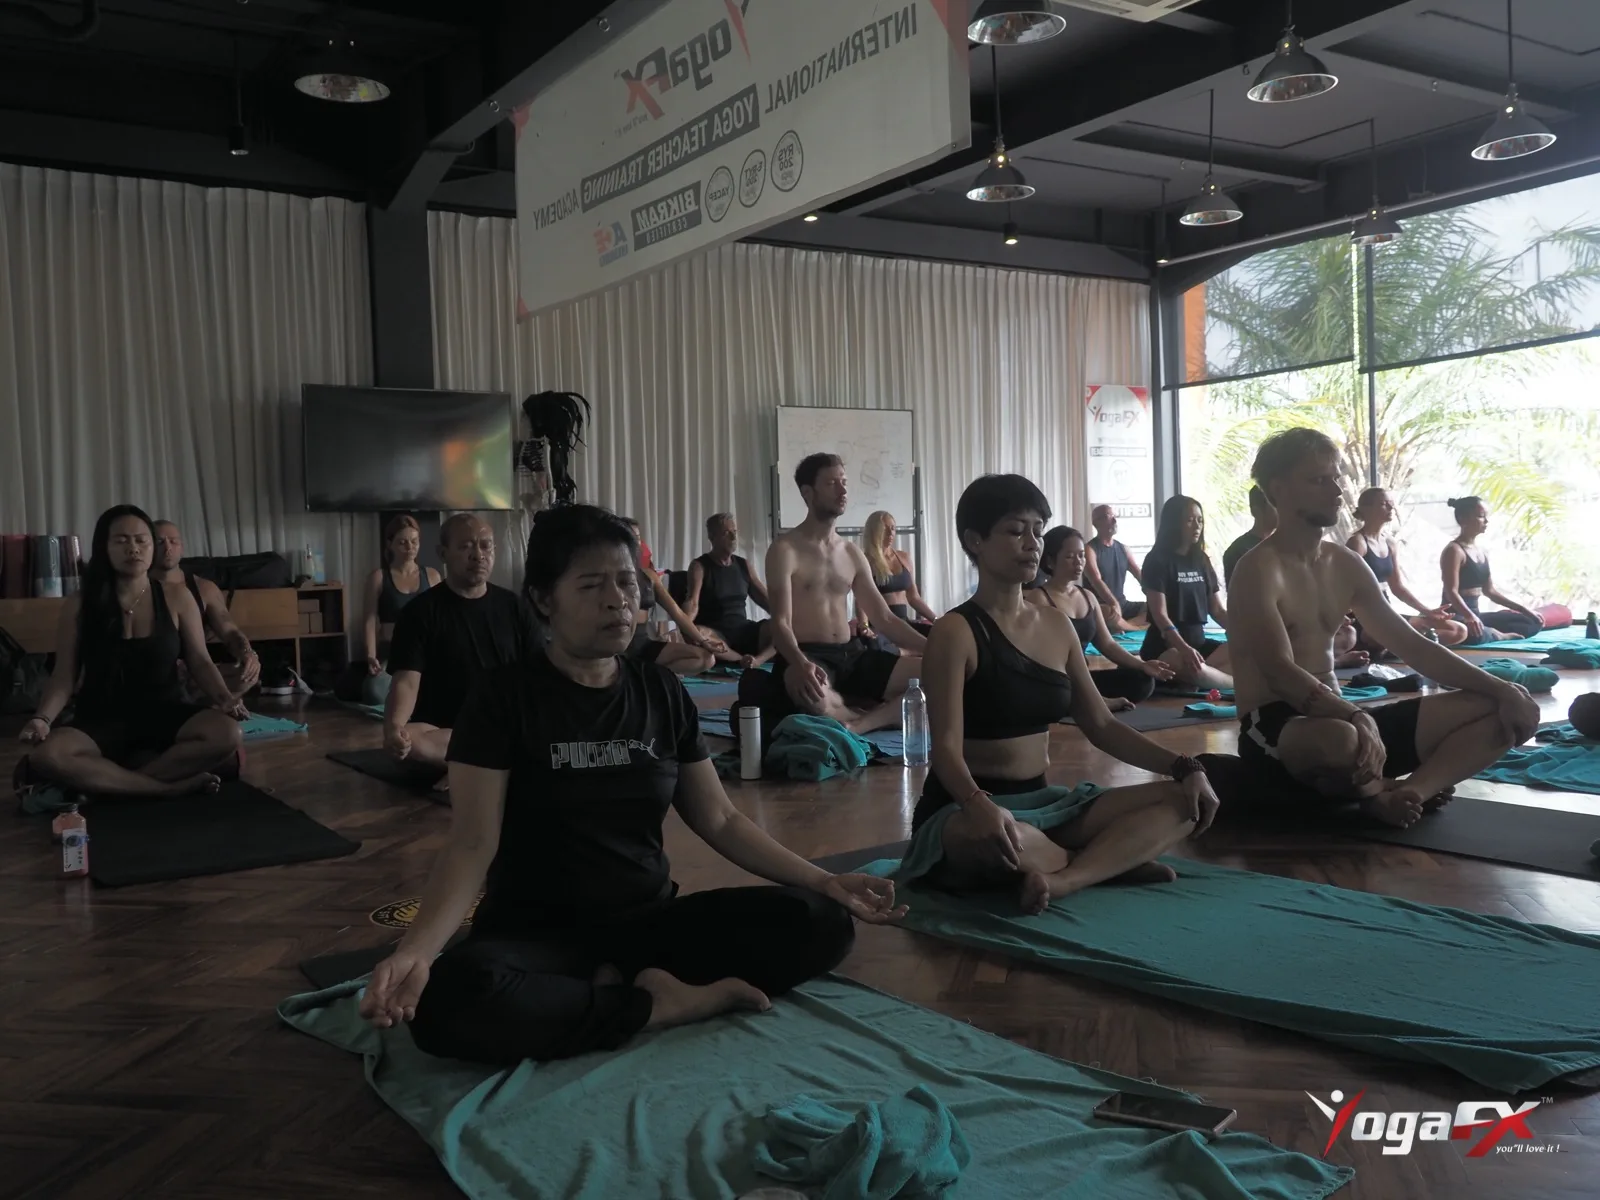
If you want to see how this ties to the body's position sense, our guide to proprioception exercises in the 26 and 2 postures explains why small ankle and hip signals matter so much on one leg.
Common Tree Pose Mistakes and How to Fix Them
The five mistakes we see most
Most wobbles come from three places: the standing foot, the pelvis and the mind. Here are the five mistakes we see most often in class, with the first fix to try.
- Foot pressed on the knee. Slide the foot lower onto the calf or ankle, where it can rest without pushing on the joint.
- Standing knee locked hard. Keep the leg straight and strong, with the thigh muscle working, rather than snapping the knee back.
- Hip pushed out to the side. Draw both hip bones forward and level, so the standing hip stays under you.
- Eyes drifting. Pick a spot at eye level and return to it every time you look away.
- Holding the breath. A tense breath tightens the whole body, so slow the exhale and let the shoulders drop.
A quick wobble diagnosis
| What you notice | Likely cause | First fix | If it keeps happening |
|---|---|---|---|
| Standing foot trembles constantly | Ankle and calf are tired, or weight sits on the heel | Spread the toes and press evenly through the whole foot | Rest the lifted foot lower and hold for a shorter time |
| You fall sideways toward the lifted knee | Standing hip is pushing out | Draw the standing hip in and level the pelvis | Practise near a wall with a fingertip touch |
| The lifted foot keeps slipping | Sweat and a low foot position | Lift the foot with your hands and place it again, a little higher on the thigh | Use the calf instead of the thigh while the hip opens |
| The mind races and you lose the pose | Gaze is loose | Choose a single spot and return to it | Count slow breaths instead of seconds |
| Standing knee aches | Knee is locked hard or the foot is pressing the joint | Soften the lock slightly and move the foot away from the knee | Stop the posture and tell your teacher after class |
For example, a student who falls toward the lifted knee often feels the standing hip shove out. A small shift of the pelvis usually fixes it in a breath or two. If you play sport, our guide to hot yoga for athletes explains how single-leg postures like this one fill training gaps.
What Heat Changes in Tree Pose
Heat, sweat and the lifted foot
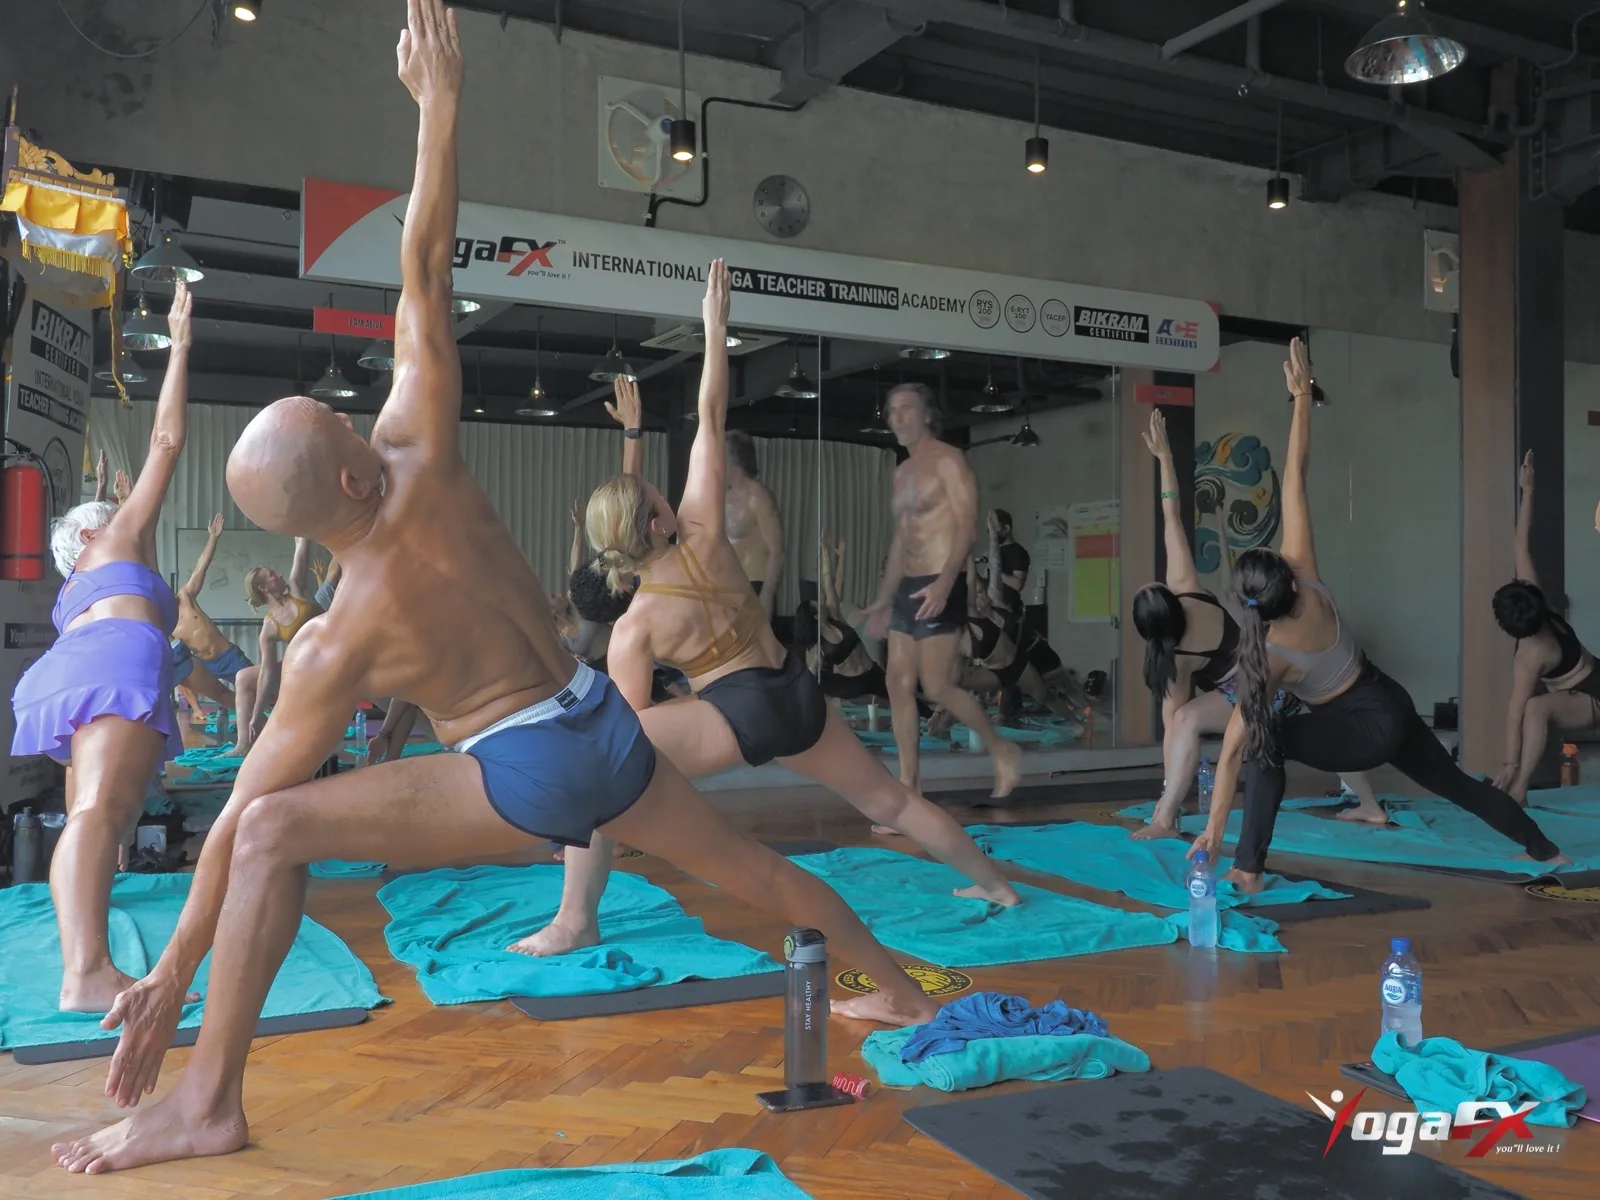
In a 40°C room, your body works harder to cool itself. Your heart rate is higher than in a cool room, and your standing leg has already done fifty minutes of work by the time you reach tree pose. Sweat on the skin also makes the lifted foot slide.
That’s why tree pose in the 26 and 2 feels different from tree pose in a cool studio. The balance is the same, but the margin for error is smaller. Fatigue makes the ankle less steady, and heat makes the mind quicker to complain. Slow breathing helps both.
Still, you can use the heat in your favour. Warm muscles move more freely, so the hip often opens further than it does when you are cold. Even so, heat can hide how far you are pushing. Let tension, not depth, be your guide, and back off at any sharp or joint pain.
Tree Pose Science: Balance, Age and Practice
What Mayo Clinic says about single-leg balance
Mayo Clinic notes that balance exercises can help you keep your balance at any age, and that the risk of falling goes up after age 65. Its single-leg stand is simple: lift one foot, hold for as long as you keep good form, up to 30 seconds, and repeat on the other side. It also says you can hold something stable for support if it is too hard at first.
Why one-leg balance is worth practising
Why does that matter for a pose like this one? A Mayo Clinic study in PLOS ONE, led by Kenton Kaufman, tested 40 healthy, independent adults over 50. Standing on one leg, and specifically the nondominant leg, showed the highest rate of decline with age. In other words, the exact skill tree pose practises is the one that tends to fade first.
That doesn’t mean tree pose prevents falls. No study here tests tree pose itself, and we do not claim it. So what the research supports is narrower: practising single-leg balance is a sensible habit at any age, and it works best when you build it up gradually.
This is general information, not medical advice. If you have serious balance problems, or a condition that affects your bones, joints or muscles, get your healthcare professional's OK before you practise balance postures, and tell your teacher before class.
Tree pose at a glance
Tree Pose in Competition: A Graduate's Story
Balance is not only a classroom skill in this method. Single-leg postures, including tree, appear on competition lists in Yogasana sport, as we explain in our guide to yoga championship postures.
One graduate shows how far the work can go. Ivara Candra Kartika, a 2023 YogaFX graduate who now teaches in Seminyak, won gold and bronze at the World Yogasana Sports Federation Championships in Ahmedabad in June 2026. Mr. Ian Terry describes her path as going from a struggling Standing Bow to a world gold medal in three years.
The lesson for a regular student is smaller but real. Nobody starts steady, so be patient. The first weeks are clumsy, and the second set on each side usually shows you what you changed in the first.
How Mr. Ian Terry Teaches Tree Pose to Trainees
Mr. Ian Terry, E-RYT 500 with more than 12,000 teaching hours, leads the teacher training at YogaFX in Bali. He trained for five years, from 2014 to 2019, with the founder of the Bikram Hot 26&2 method. For a quiet posture like tree pose, that history shows up in how trainees learn to speak.
Cueing with words alone
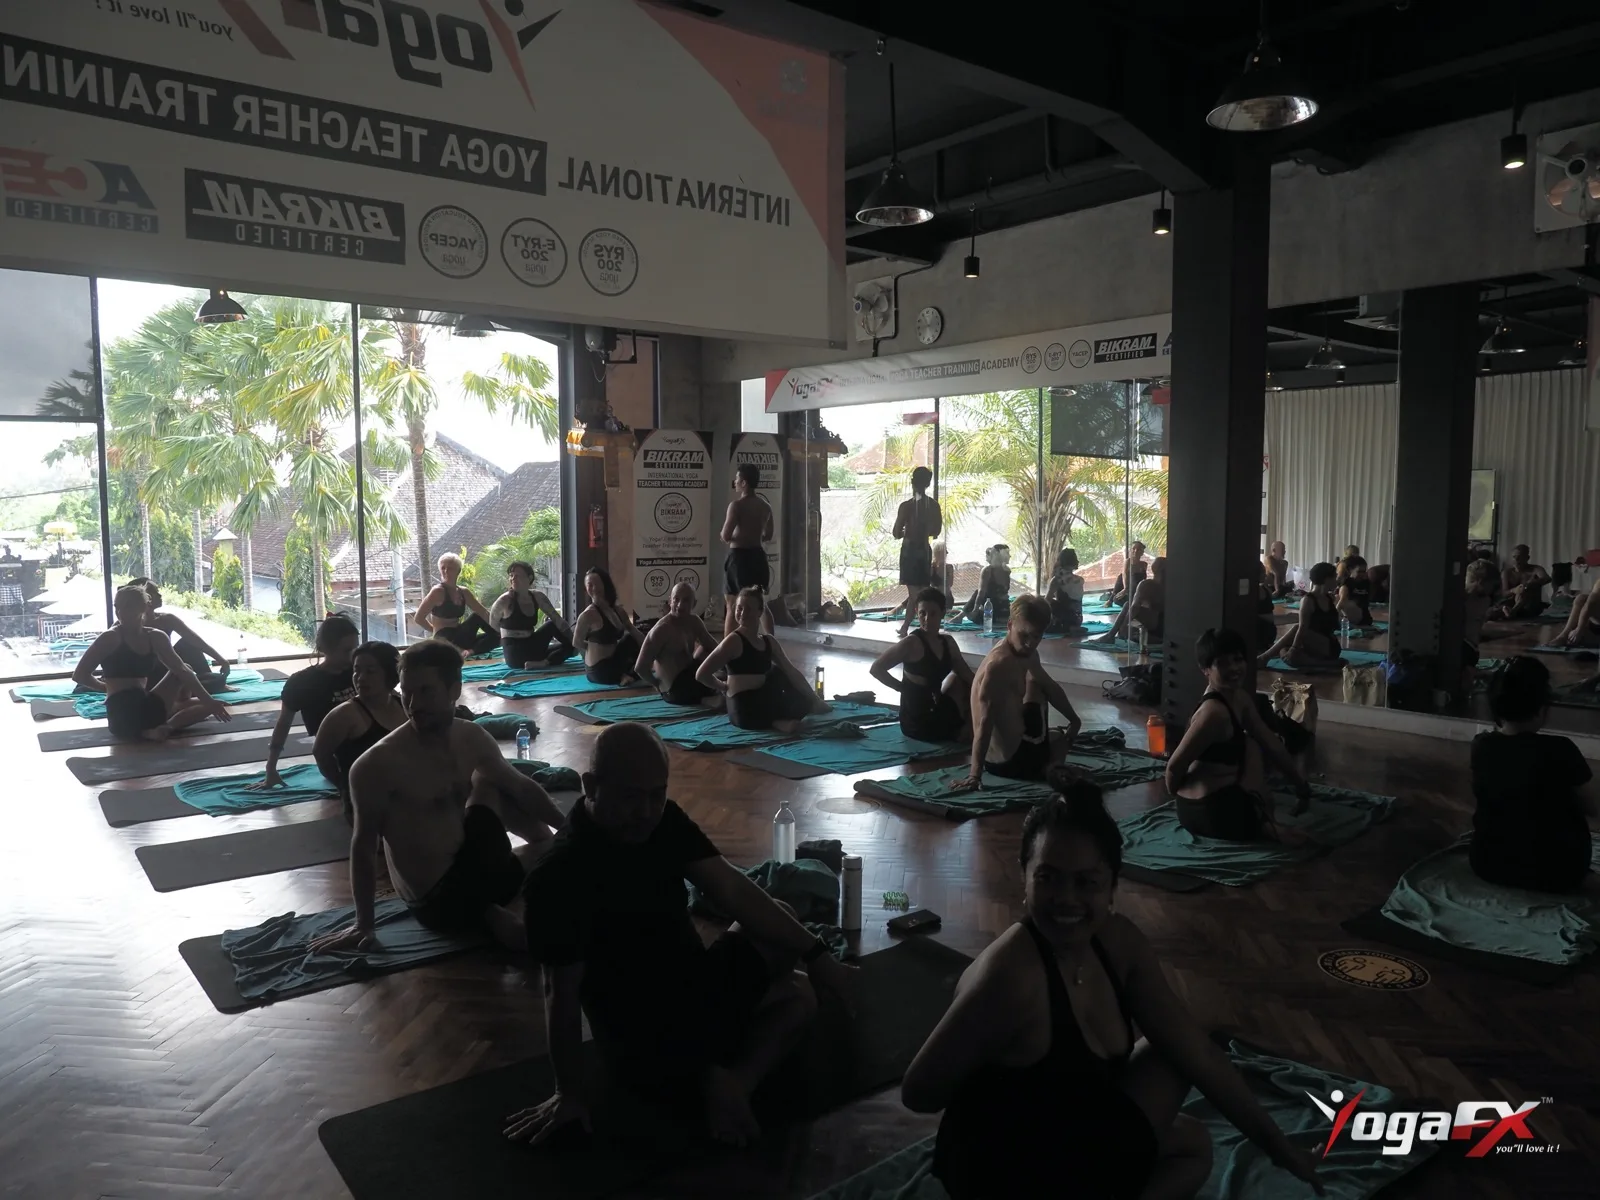
Trainees practise cueing tree pose with words alone. They learn to name where the weight sits in the standing foot, where the hip drifts and where the eyes go. In the posture clinic, a trainee spots a student who is wobbling and corrects the shape with voice and hands. A video cannot teach that, because a video cannot tell which cue the student needed.
If you want to learn to teach it, the spoken script is part of the training, and the 26 and 2 teacher training page shows how the course is built. The training runs in Bali with studio practice at our Seminyak studio, which is open daily from 06:00 to 22:00.
What Trainees Say About Learning in Bali
Students rarely describe one posture when they look back. They describe the effort, the group and the person they became. Here are three reviews from YogaFX trainees, with first names only.
I've never traveled on my own. I'm a very fearful, shy person. ... I feel like I've just blossomed into the person I really want to be.
Donna, YouTube review, 2026 (transcript, lightly edited)
The last six days has been amazing beyond amazing. ... They have been very professional, everything very smooth, organized, efficient.
Lily, YouTube review, 2025 (transcript, lightly edited)
Thank you for the hot yoga ... very, very good teacher, very nice.
Saul, YouTube review, 2024 (transcript, partly translated from Indonesian)
Donna's full video review is below. She talks about travelling alone and finishing the training.
How to Practise Tree Pose Before Your Next Class
You do not need a special routine. A few habits make tree pose steadier when it arrives in class. Keep it modest, and stop if anything hurts.
- Practise near a wall. Rest a fingertip on it so a wobble never becomes a fall.
- Start with the foot low. Rest it on the calf, then move it up as your hip opens over the weeks.
- Pick one spot and return to it. Every drift of the eyes is a chance to practise coming back.
- Build the hold slowly. Start with a few breaths each side and add time only while your form stays good.
- Compare your two sides. Most people have a steadier leg, and noticing it is half the work.
Expect the first weeks to feel clumsy. That’s normal, because your ankles and hips are learning a new job. Two or three classes a week are plenty for most students. If you are new to the heat, the YogaFX Free 1-Day Guest Pass lets you try your first class at the Seminyak studio at no cost. You can ask about it on WhatsApp.
Where to Go Next
Tree pose is one posture in a longer chain. Once it feels familiar, notice how triangle pose and Standing Separate Leg Head to Knee, which come before it, prepare the hips. Then watch how Toe Stand, which follows, asks you to balance again with a different shape.
If you would like to learn to teach these postures in your own voice, message Mr. Ian on WhatsApp and he will explain how the training runs and what the next batch looks like.
FAQ
What is tree pose in yoga?
Tree pose is a standing balance. You stand on one straight leg, place the other foot high on the inner thigh, and bring your hands together at the chest. In the 26 and 2 it is the eleventh item in the sequence, held for one set on each side, with the eyes fixed on one spot.
How long should you hold tree pose?
In a 26 and 2 class the teacher sets the timing, and you hold one set on each side. At home, Mayo Clinic suggests holding a single-leg stand for as long as you keep good form, up to 30 seconds. Build the time slowly and stop if you lose your alignment.
Why is tree pose so hard in hot yoga?
Heat raises your heart rate, sweat makes the foot slip, and your standing leg is already tired by the time tree arrives. The pose itself is quiet, so the mind has nothing to hide behind. Slow breathing, a fixed gaze and a lower foot placement make it easier.
Where should you put your foot in tree pose?
Place the sole against the inner thigh of the standing leg, as high as your hip allows. If you cannot reach the thigh, rest the foot on the calf or ankle. Keep it off the side of the knee, because pressing the joint can strain it.
Where should you look in tree pose?
Choose one fixed spot at eye level, often your own eyes in the mirror, and return to it whenever your attention drifts. The gaze works mainly as a concentration anchor. Research on eye movements and sway is mixed, so treat the spot as practice for attention, not a guarantee of balance.
Still have questions? Message Mr. Ian and the YogaFX team on WhatsApp and we will answer them personally.